This is a “how-to” post about a one layer card using simple techniques!
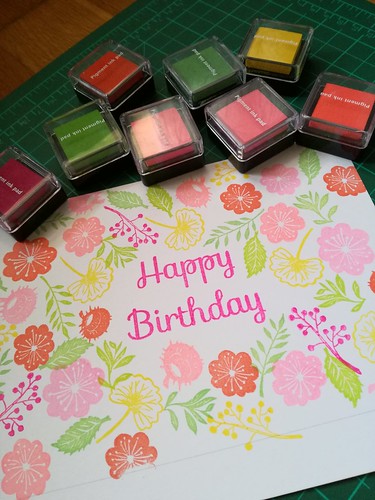
Today we will make a completely different card using a different technique! As we were going through our stash we found a lot of ink pads in a variety of colors that have never used so far. So we came up with an idea to make the most out of them! So this post is about a one layer birthday card using only stamps and ink pads!

The sentiment
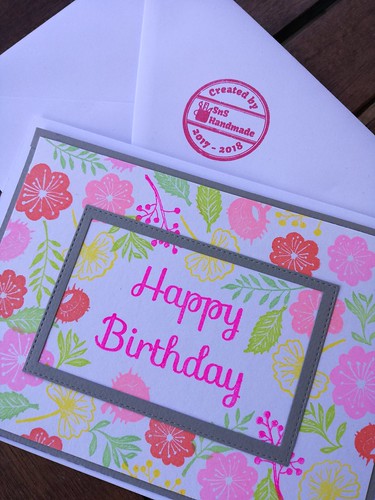
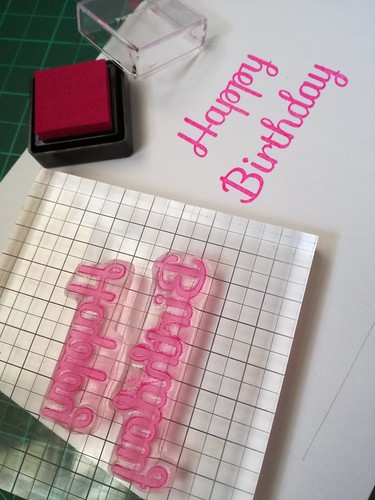
To start, think of the color pallet of your card. Go through your ink pads to find a color combination that you like. Since we decided to create a floral card we went for warm spring colors! Then with a bright shade of one of the colors you have chosen, stamp the sentiment in the center of a white cardstock panel. Since it is a one layer card it is important to stamp the sentiment with a vibrant color to make it stand out of the rest of the stamping that will follow.
The background and focal point
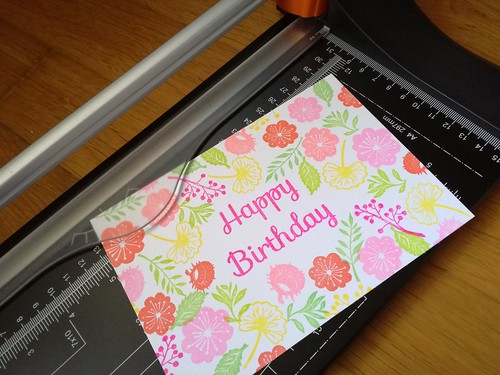
Then find a stamp set that includes similar stamps in a variation of sizes. This way you will be able to create a more interesting pattern. We chose a floral stamp set that consists of different flowers, leaves and branches. Start by stamping the bigger images. Then follow with the smaller ones to fill the gaps. Alternate the colors when changing the stamp. From time to time step back to take a look of the pattern that you are creating. Find gaps or missing colors and add them to your project until you are happy with the result. What you are aiming for is a harmony of colors and shapes. After you have finished trim the panel to be slightly smaller than the card base.
After finishing the stamping we decided that we needed a little more definition for the sentiment. So in order to achieve that use two rectangle dies (a bigger and a slightly smaller one) to create a thin frame. We decided to introduce a contrasting color, therefore we cut the frame out of grey cardstock. Finally to finish everything we made a small border for the entire panel, cutting thin stripes out of the same grey cardstock.
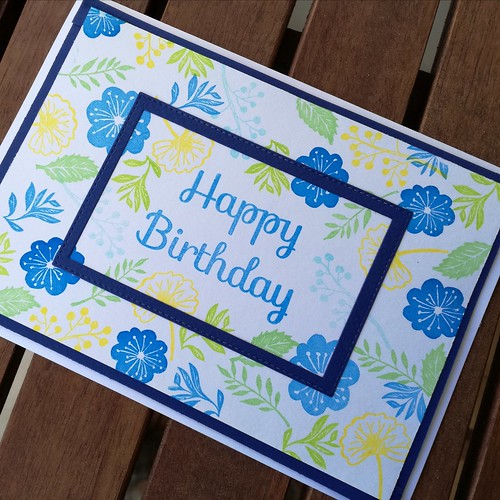
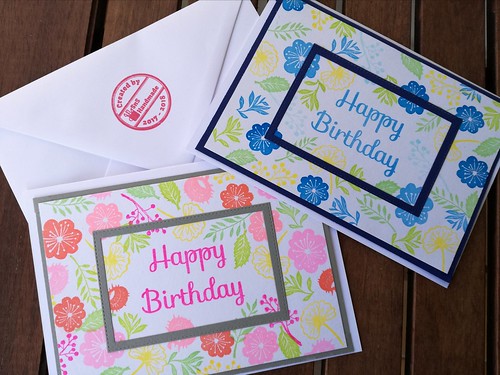
And that is it! The card is ready! Since it so simple to create you can make a bunch using different color palettes! We made another one using colder shades. So we hope that you enjoyed this post and it got you inspired! Thanks for stopping by!