A step by step video on a stamped pattern paper baby card!
Happy Monday everyone!
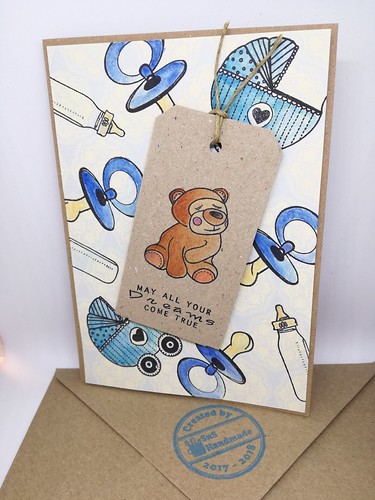
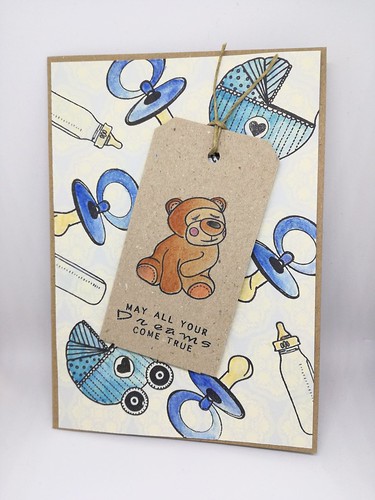
Today I’m sharing a video on how I created a simple baby card! I used one of my most favourite techniques on this one. I created my own pattern paper using stamps from my stash. First I gathered all my baby related stamps. Then I decided which I was going to use. When choosing your stamps to create a pattern make sure to mix different sizes. Start from the biggest to the smallest. This way you will be able to fill in any gaps in the end with the smaller stamp. You also need to think what colouring medium you are going to use, before you choose your stamping ink. In this case I was going to use my watercolour pencils so I need a permanent and waterproof ink. Therefore I stamped everything with my Archival Ink. When colouring your images take your time! I find this part particularly relaxing! Decide on the colour palette of your card and use coordinating colours.
When I finished my pattern paper I started working on my focal point and sentiment. I stamped them both a tag and I coloured the focal point using coloured pencils again. But this time I went for my Inktense Pencils because I wanted more vivid colours for my focal point. Then I hopped it onto some foam adhesive and my card was done! If you want to see more details make sure to watch the video!
I hoped you enjoyed the making of this card! If you did leave a comment bellow. Any card suggestion are more than welcome! I will see you all in a few days with a new post! Until then…happy crafting!!