A “how-to” post on how to make a congratulations wedding card with a video tutorial!
Today we are making a beautiful vintage looking card! Even if it is still March there are a lot of wedding taking place at the moment! So if you are attending one yourself, make sure to write a few words of love to the just-married couple. These will be words that they will keep forever in their hearts! So besides the gift that you might give to the couple, give a wedding card too. And they for sure will keep it forever in their wedding memories box!
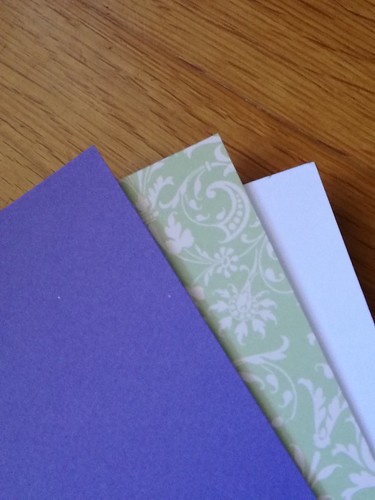
The background
First you need to decide the color pallet. We went for a white card base, a pastel lilac and a dusty green. On the video you will see a similar card with a different color combination. You will also need a white piece of watercolor paper to stamp the focal point. So this card is made in four layers. First cut a panel from the lilac paper to cover the front of the card base. Make sure to leave a small border all around. Then cut a slightly smaller panel from the green pattern paper. Finally cut and even smaller rectangle from the white watercolor paper.
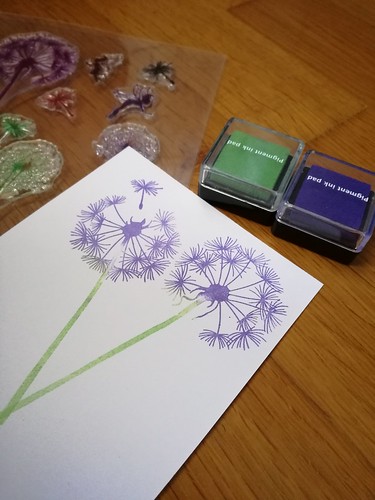
The focal point
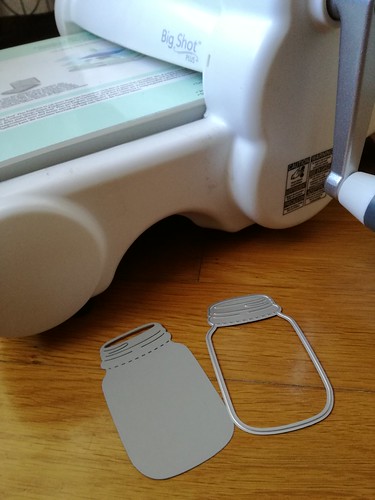
For the focal point we will create a scene, combining a few stamps and a die. First you find two ink pads that have pretty much the same shades of the papers that we used on the background. On this case a lilac and a green. Now with these inks stamp two flowers on the top part of the white panel. We did some partial stamping on our card because we wanted the stem to be green and the flower lilac. You can easily achieve this effect, by masking the stamp while inking it up. The use a die-cut to make a jar for your flowers. Use a neutral color for this such as light grey or even vellum paper.
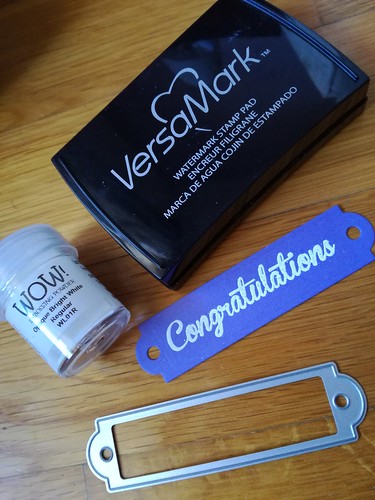
The sentiment
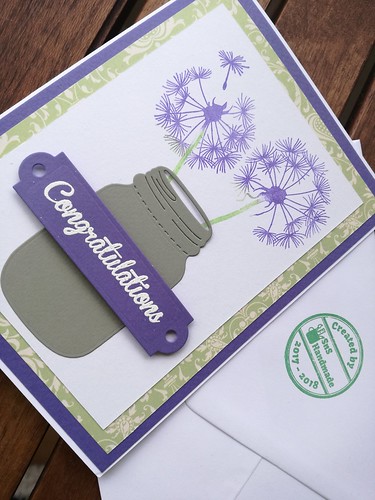
For the sentiment create a label using a die-cut. If you don’t have any on hand make a banner and cut a fish tale with you scissors. Make sure to use the same lilac paper that you used on the background. This way it will match perfectly the rest of the card. Use a “congratulations” stamp and VersaMark ink with white embossing powder. Heat emboss it to seal everything in place. Stick it on the card using foam adhesive to add some dimension. And the card is ready!! So simple!
We hope that you enjoyed it and you got inspired! And remember a card is always better than a SMS or an email! Just say it with a card!