
A step by step tutorial on a simple birthday card!
Today we are making a simple birthday card. We were asked to create a card for a little girl’s birthday party. But we had to make it on a short notice. When you have to make a quick card try to go for simple designs and use as many die-cuts as you can. Die-cuts make everything easier and faster. So, we went through our supplies and we found a beautiful banner and a party hat that where perfect for what we wanted! No time to lose! Let’s get started!
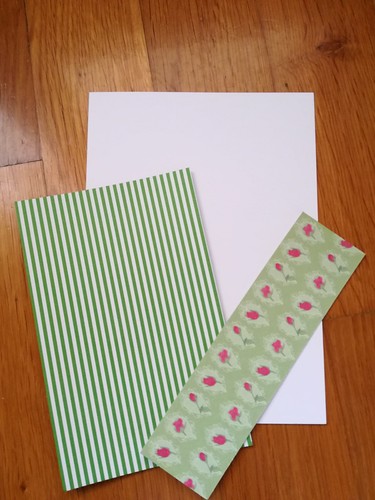
The background
For the card base go for a simple white one to be able to match it with any colors you want. To make the background more interesting use two pattern papers instead of one. When using two different patterns, try to combine a busy one with a plain one. This way you will get a well-balanced look. We went for a floral and a simple striped one. Stick the pattern papers on your card base leaving a small border all around.
The focal point
Use the die-cuts that you have on hand to create the focal points. Try to keep the same colour palette of your background but use more solid colours or small patterns. Using our Sizzix die-cutting machine we created a banner, a party hat and a circle for the head. Now use your die-cut pieces to create a scene on your card front. Try to use the entire space of your card front and keep a balance. Not everything should be on the one side of the card front unless you are going for a specific look.

To create the face just use a circle die, pop some google eyes on and sketch the mouth and nose with a thin black marker. Then put the hat on top and your happy party face is ready! Sketchy and beautifully handmade! Put the focal point on some foam adhesive to add dimension to your card.

The sentiment
For the sentiment choose an ink on the same colour palette of your card. Since there was a lot of pink going on, we decided to use a pink ink. Stamp it on a piece of white cardstock to match the card base and then cut a flag shape. You can do that by cutting a fishtail shape with your scissors at the one side of your banner.

Finally draw a dash line all around the white border to give a more handcrafted look to your project. And the card is ready! It only took us half an hour or so but we are really happy with the result! It is simple yet beautiful and fun! So remember not enough time is not enough an excuse!!
We hope you enjoyed it and you got inspired!
